 5b9790c901
LED B on PM3 Easy is red per firmware define LED_RED=LED_B, not blue.
Updated all examples to use color names (green, red, orange, red2).
Added tune LED visualization examples and updated code references.

Tune LED color mappings inspired by the Dangerous Things RFID
diagnostic card color scheme:
- LF tune: Green (PM3 Easy) / Red2 (RDV4)
- HF tune: Red (PM3 Easy) / Orange (RDV4)

Co-Authored-By: Claude Opus 4.6 (1M context) <noreply@anthropic.com>
Dangerous Pi
Modern web interface for Proxmark3 management on Raspberry Pi Zero 2 W
Dangerous Pi extends the pi-pm3 project with a sleek cyberpunk-themed web interface, automatic updates, session management, and advanced features designed for Dangerous Things.
Features
- 🎨 Cyberpunk UI - Dark mode default, lightweight, responsive
- ⚡ FastAPI Backend - Async Python with WebSocket for real-time updates
- 🔧 PM3 Integration - Uses official Python bindings from iceman fork (SWIG)
- 🔌 Multi-Device Support - Connect and manage multiple Proxmark3 devices simultaneously
- 💡 LED Control - Hardware PWM brightness control for multi-device identification
- 📱 Mobile-First - Works great on phones and tablets
- 🔐 Session Management - Per-device sessions with takeover support
- 📊 Real-time Status - Live system monitoring via WebSocket
- 🚀 Auto Updates - GitHub releases integration
- 🔋 UPS Support - PiSugar and I2C fuel gauge battery monitoring
- 📶 BLE Notifications - Bluetooth Low Energy status broadcasting
Quick Start
See GETTING_STARTED.md for complete setup instructions.
Development
# Backend
pip install -r requirements.txt
python -m app.backend.main

# Frontend (in another terminal)
cd app/frontend
npm install
npm run dev
Then open http://localhost:3000
Existing pi-pm3 Features
All you need to do is boot from this image and enjoy using your pm3 over wifi.
This image is configured to set up a wifi access point, and SSH, web bash shell and a web pm3 cli
The default user credentials are - username: dt password: proxmark3
usage
You can burn the image to a sd-card using https://etcher.balena.io/
Insert the sd-card in your RPI Zero 2 w and power it on.
Wait for one minute for the OS to boot and then connect to the Access Point using the following credentials
SSID: Dangerous-Pi
Password: dangerous123
Network Configuration
Access the Dangerous Pi web interface at:
- URL: http://192.168.4.1/ or http://dangerous-pi.local/
- mDNS:
dangerous-pi.local
AP IP address: 192.168.4.1
DHCP range: 192.168.4.2 - 192.168.4.20
SSID: Dangerous-Pi
Password: dangerous123
Web Shell
- Web shell (u: dt ; p: proxmark3) at http://192.168.4.1:8000/
Web PM3 Console
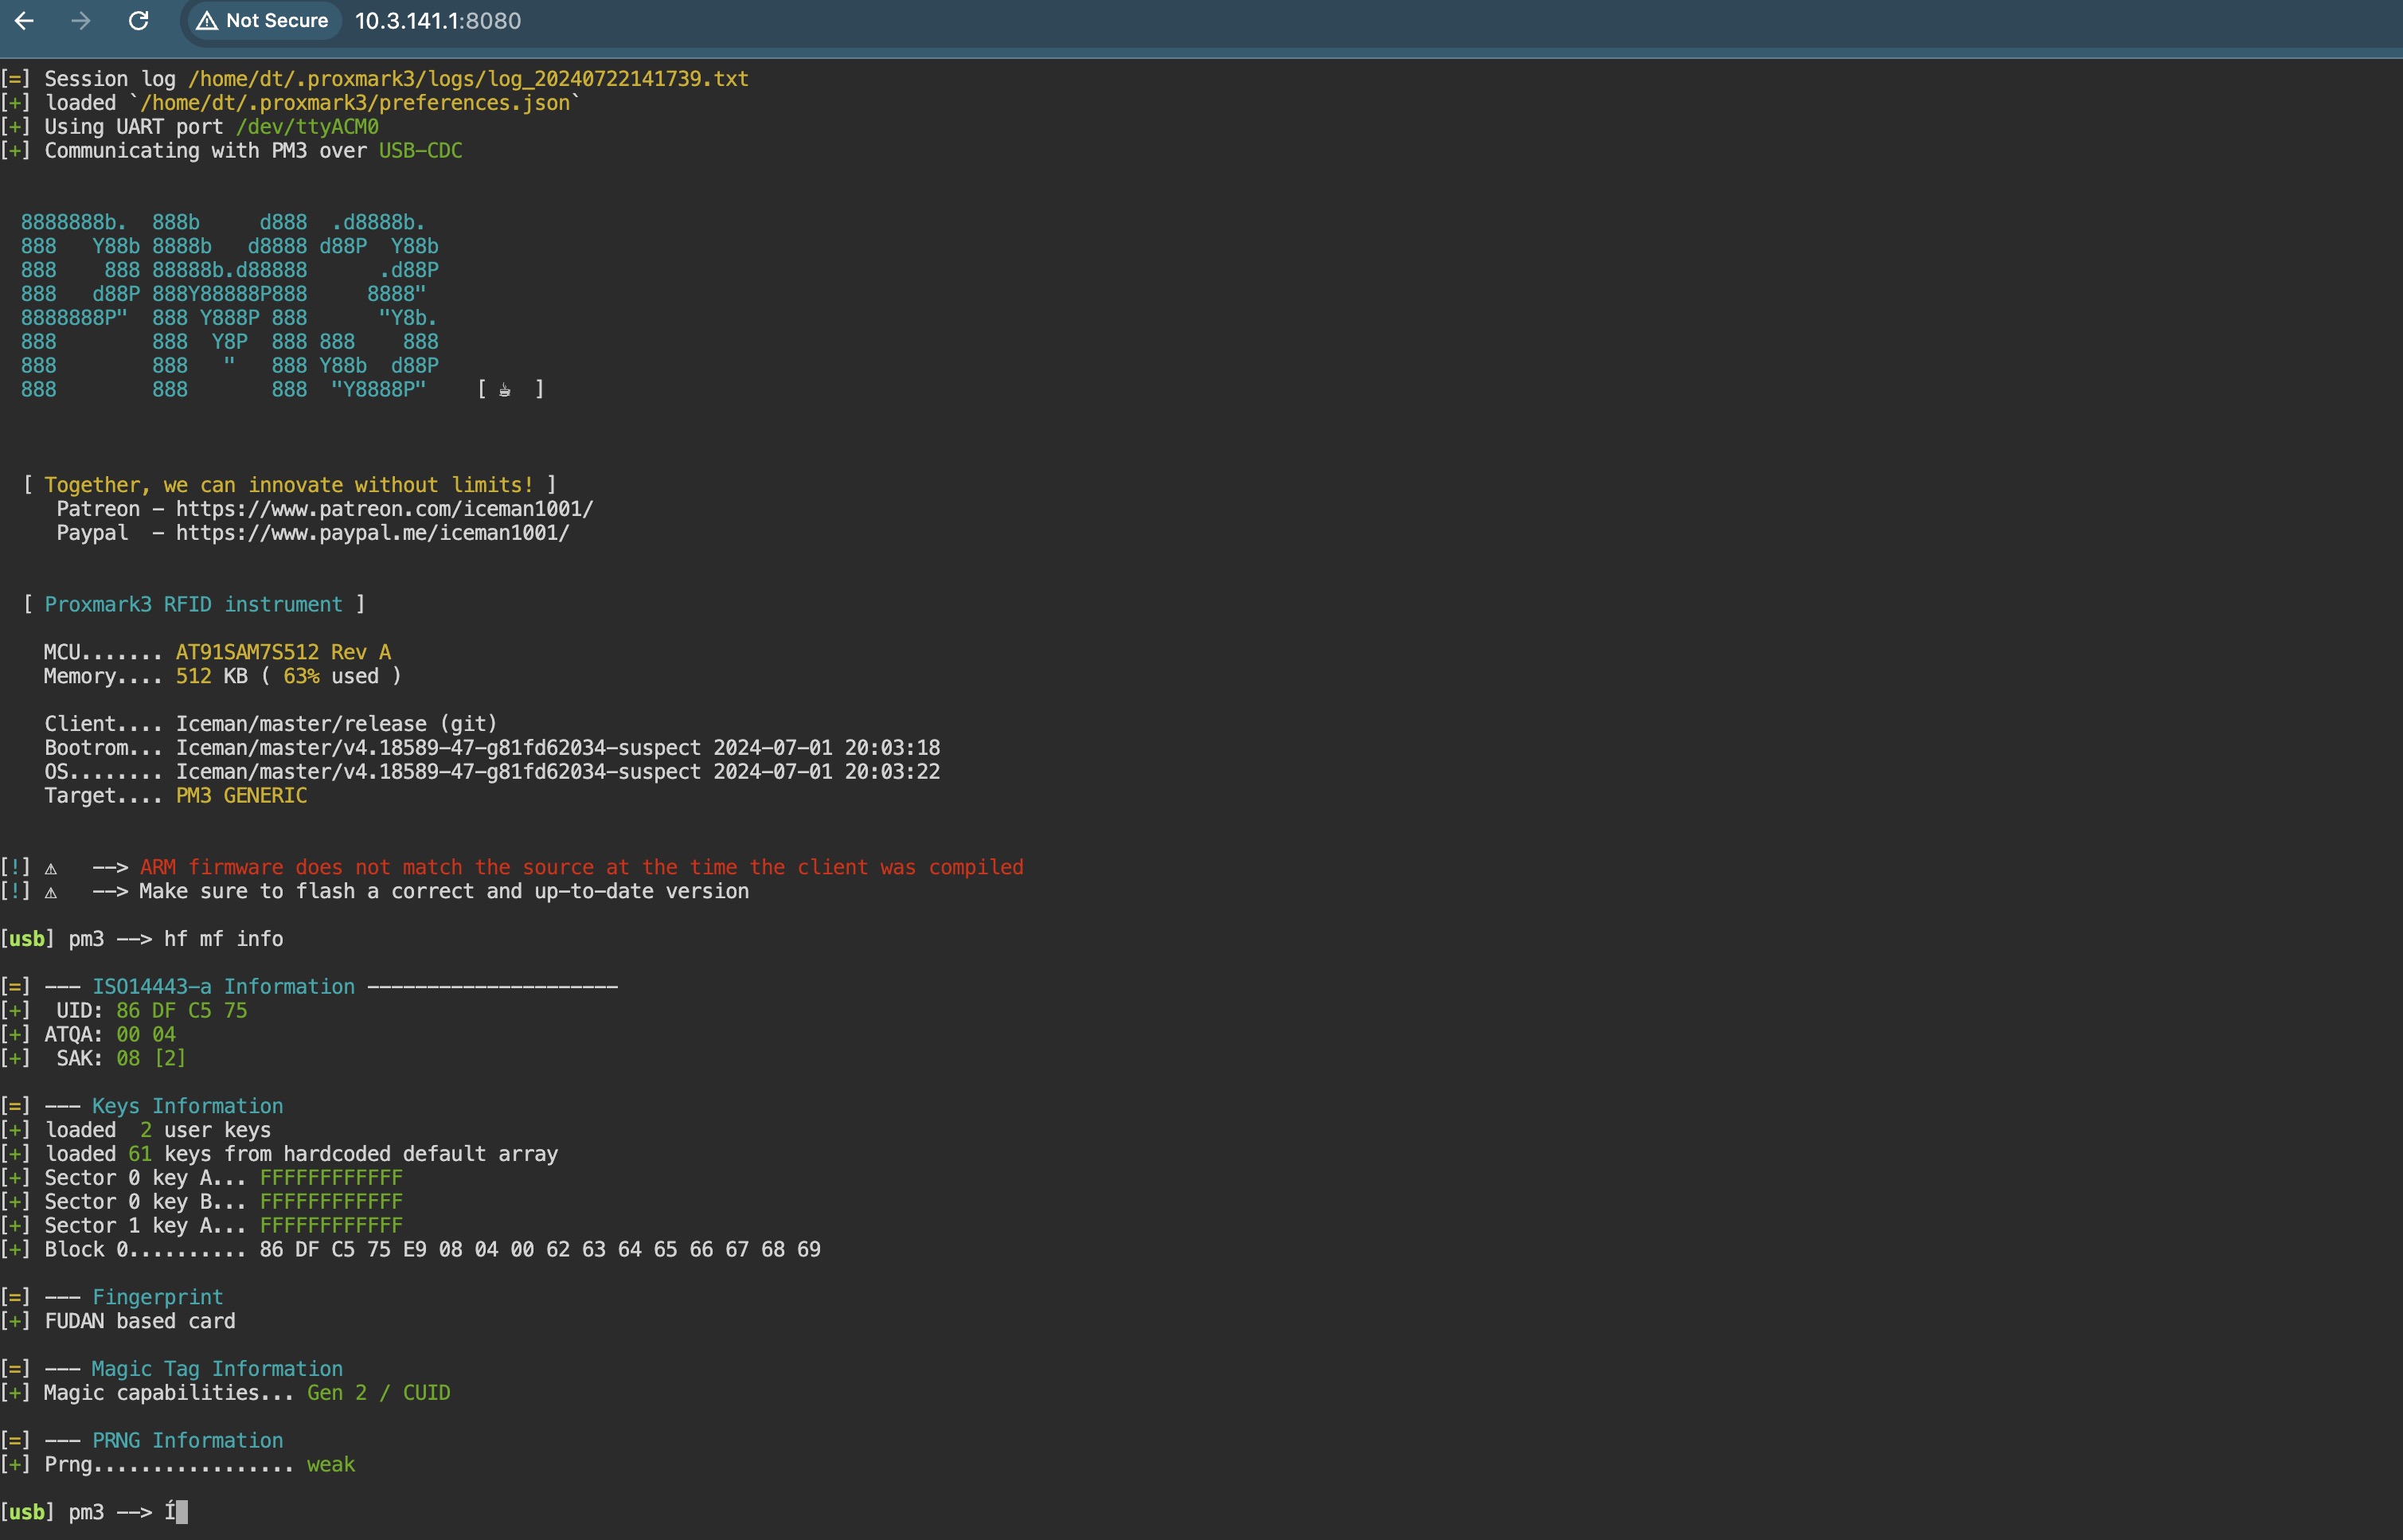
- PM3 shell (u: dt ; p: proxmark3) at http://192.168.4.1:8080/

build
To build new image you should follow the steps below: (Tested only on Apple Silicon macbook)
- checkout pi-gen
git clone https://github.com/RPi-Distro/pi-gen.git pmbuild - copy the content of pi-pm3 folder to pmbuild
cp -rp pi-gen/* pmbuild/ - Checkout the arm64 branch of pi-gen
cd pmbuild; git checkout arm64 - make sure you have a docker server running (or any of it's alternatives https://spacelift.io/blog/docker-alternatives)
- start the build in a docker container
./docker-build.sh
On a successful build you should get something like the screenshot blow:

CHANGELOG
- v1.1.0
- Updated dependencies for debain Trixie.