
Proxmark3 Raspberry Pi Zero 2 W
Did you ever thought how cool it will be if you can add network capabilities to yor cheap Proxmark3 easy? You can do that relatively cheap using a RPi zero 2 w and external power. Both my pi0 and proxmark3easy are running for more than 5 hours on a 10000mah xiaomi power bank.
All you need to do is boot from this image and enjoy using your pm3 over wifi.
This image is configured to set up a wifi access point, and SSH, web bash shell and a web pm3 cli
The default user credentials are - username: dt password: proxmark3
usage
You can burn the image to a sd-card using https://etcher.balena.io/
Insert the sd-card in your RPI Zero 2 w and power it on.
Wait for one minute for the OS to boot and then connect to the Access Point using the following credentials
SSID: raspi-webgui
Password: ChangeMe
AP management interface
Management interface: http://10.3.141.1/
IP address: 10.3.141.1
Username: admin
Password: secret
DHCP range: 10.3.141.50 — 10.3.141.254
SSID: raspi-webgui
Password: ChangeMe
web shell
- web shell (u: dt ; p: proxmark3) at http://10.3.141.1:8000/
web pm3 console
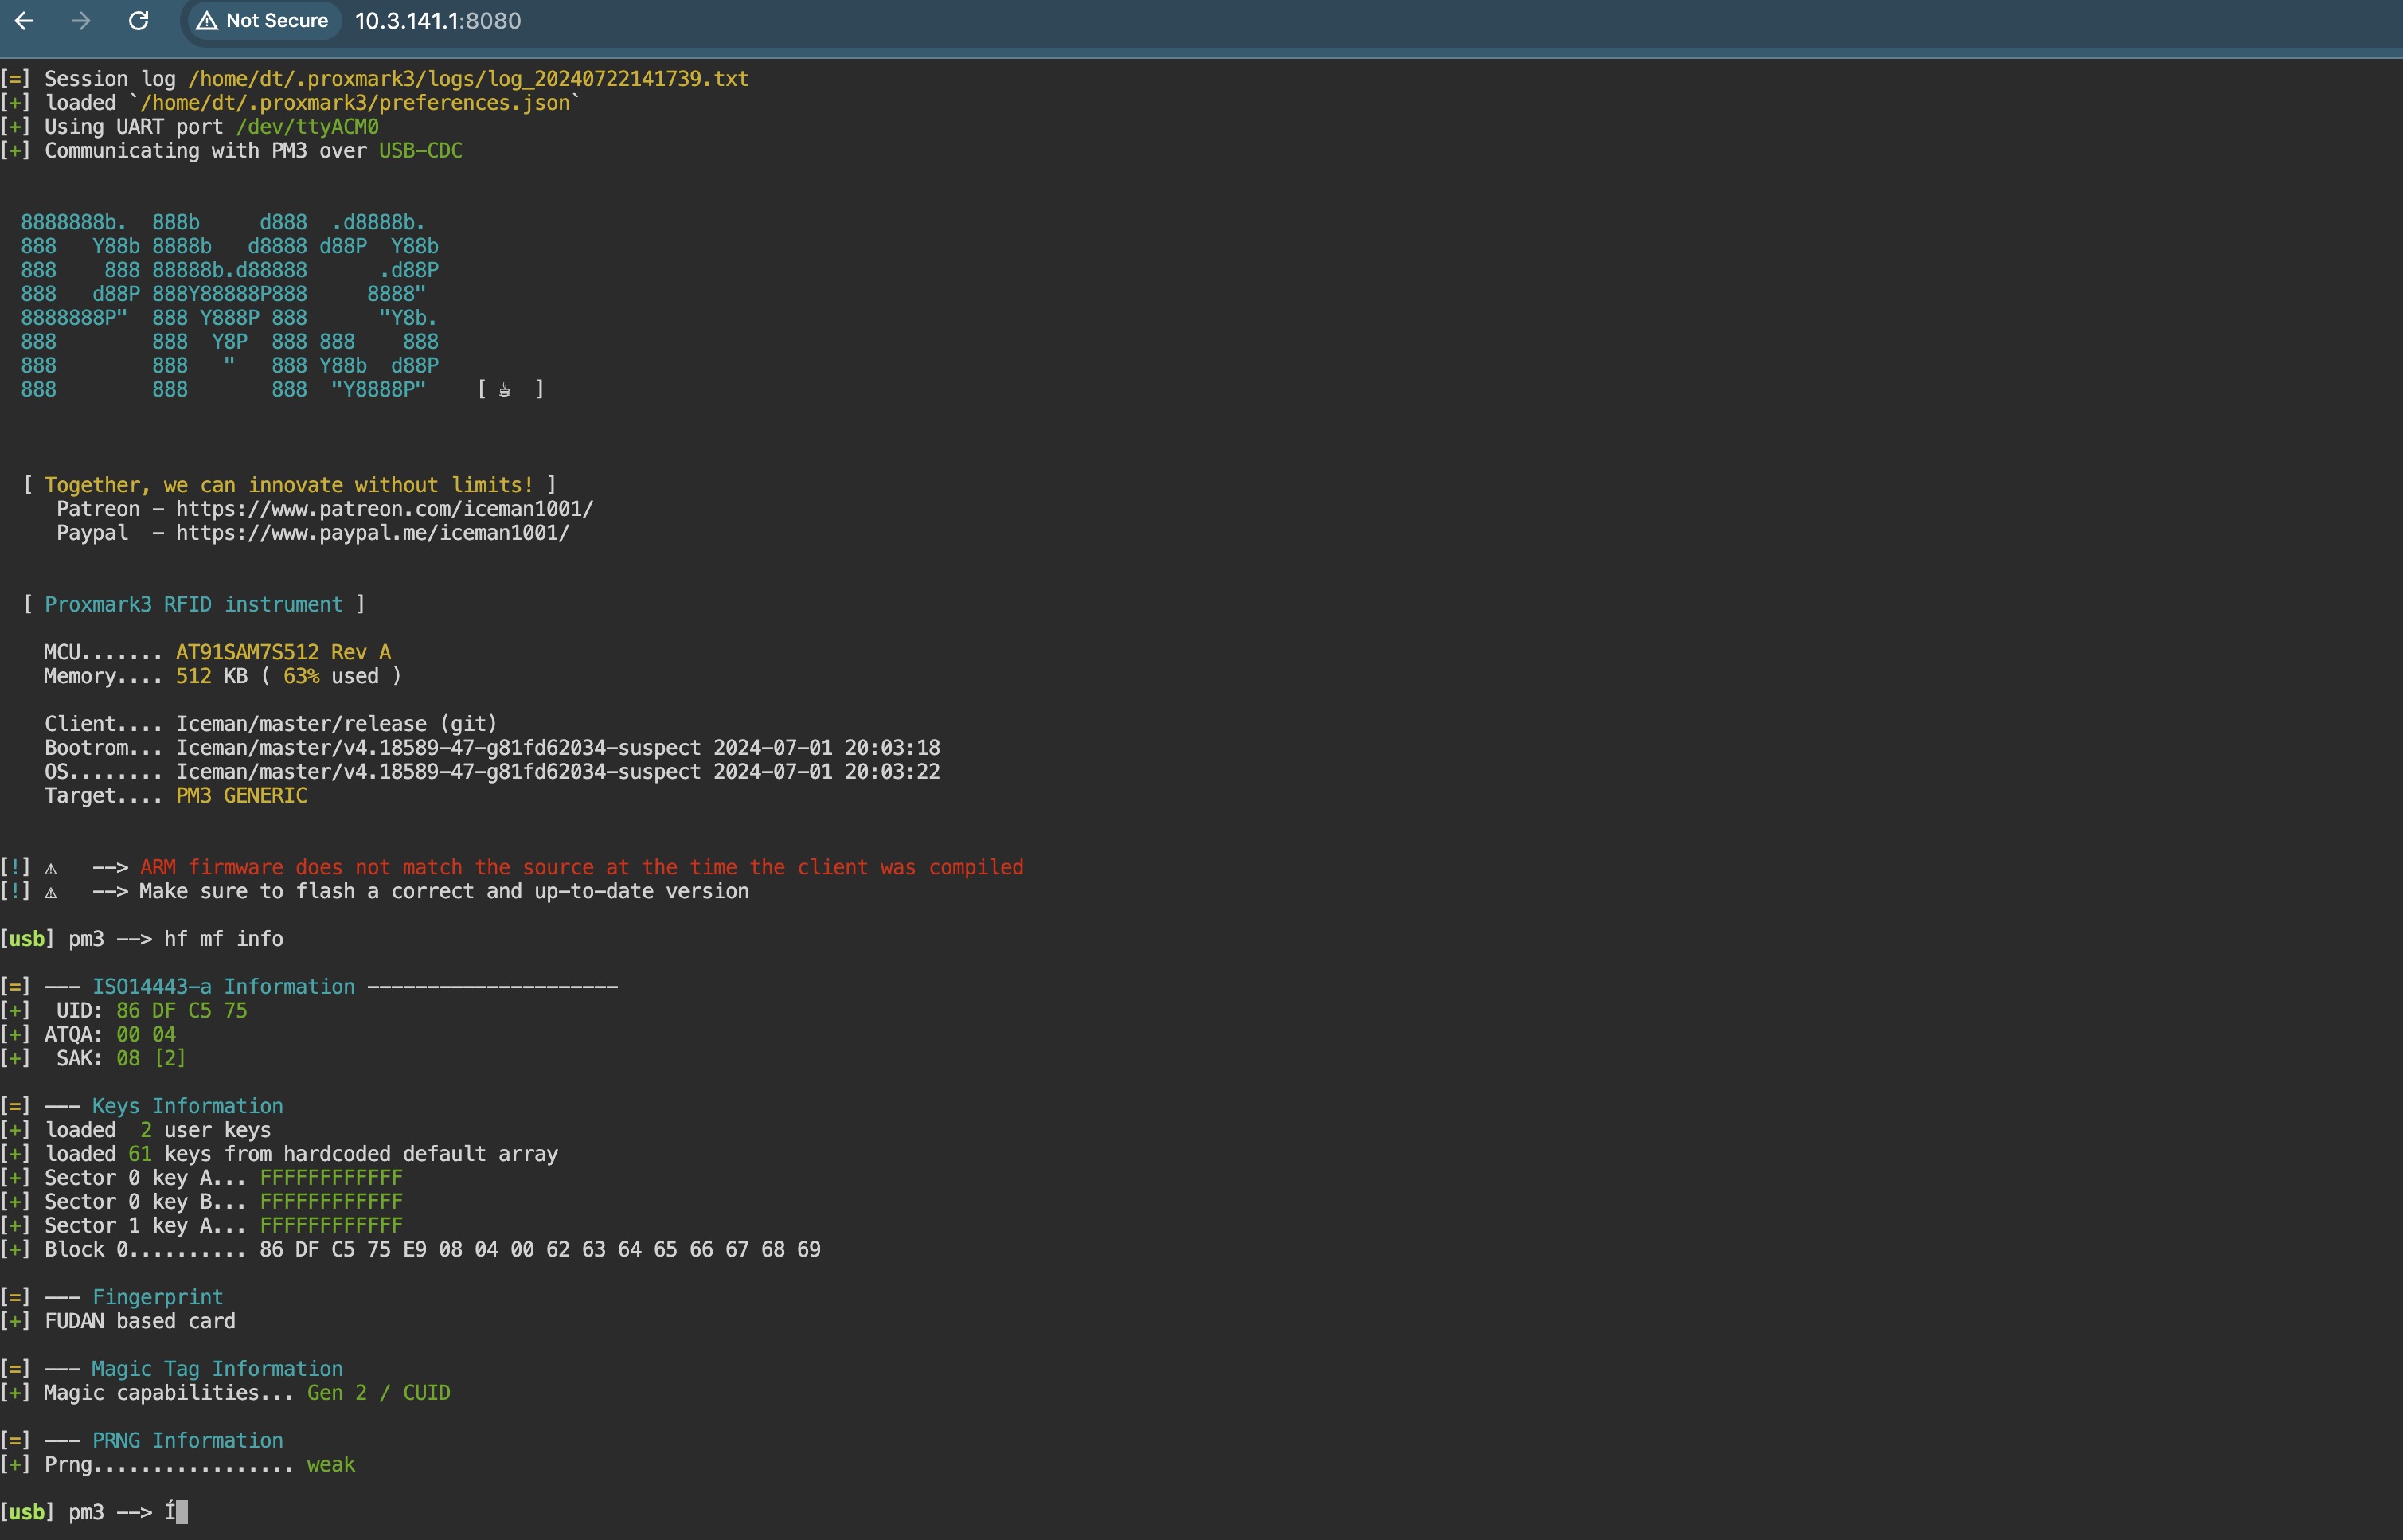
- pm3 shell (u: dt ; p: proxmark3) at http://10.3.141.1:8080/

build
To build new image you should follow the steps below: (Tested only on Apple Silicon macbook)
- checkout pi-gen
git clone https://github.com/RPi-Distro/pi-gen.git pmbuild - copy the content of pi-pm3 folder to pmbuild
cp -rp pi-gen pmbuild/ - Checkout the arm64 branch of pi-gen
cd pmbuild; git checkout arm64 - make sure you have a docker server running (or any of it's alternatives https://spacelift.io/blog/docker-alternatives)
- start the build in a docker container
./docker-build.sh
On a successful build you should get something like the screenshot blow:
