 4f35df1781
🤖 Generated with [Claude Code](https://claude.com/claude-code)

Co-Authored-By: Claude Opus 4.5 <noreply@anthropic.com>
Dangerous Pi
Modern web interface for Proxmark3 management on Raspberry Pi Zero 2 W
Dangerous Pi extends the pi-pm3 project with a sleek cyberpunk-themed web interface, automatic updates, session management, and advanced features designed for Dangerous Things.
Features
- 🎨 Cyberpunk UI - Dark mode default, lightweight, responsive
- ⚡ FastAPI Backend - Async Python with WebSocket for real-time updates
- 🔧 PM3 Integration - Uses official Python bindings from iceman fork (SWIG)
- 🔌 Multi-Device Support - Connect and manage multiple Proxmark3 devices simultaneously
- 💡 LED Control - Hardware PWM brightness control for multi-device identification
- 📱 Mobile-First - Works great on phones and tablets
- 🔐 Session Management - Per-device sessions with takeover support
- 📊 Real-time Status - Live system monitoring via WebSocket
- 🚀 Auto Updates - GitHub releases integration
- 🔋 UPS Support - PiSugar and I2C fuel gauge battery monitoring
- 📶 BLE Notifications - Bluetooth Low Energy status broadcasting
Quick Start
See GETTING_STARTED.md for complete setup instructions.
Development
# Backend
pip install -r requirements.txt
python -m app.backend.main

# Frontend (in another terminal)
cd app/frontend
npm install
npm run dev
Then open http://localhost:3000
Existing pi-pm3 Features
All you need to do is boot from this image and enjoy using your pm3 over wifi.
This image is configured to set up a wifi access point, and SSH, web bash shell and a web pm3 cli
The default user credentials are - username: dt password: proxmark3
usage
You can burn the image to a sd-card using https://etcher.balena.io/
Insert the sd-card in your RPI Zero 2 w and power it on.
Wait for one minute for the OS to boot and then connect to the Access Point using the following credentials
SSID: Dangerous-Pi
Password: dangerous123
Network Configuration
Access the Dangerous Pi web interface at:
- URL: http://192.168.4.1/ or http://dangerous-pi.local/
- mDNS:
dangerous-pi.local
AP IP address: 192.168.4.1
DHCP range: 192.168.4.2 - 192.168.4.20
SSID: Dangerous-Pi
Password: dangerous123
Web Shell
- Web shell (u: dt ; p: proxmark3) at http://192.168.4.1:8000/
Web PM3 Console
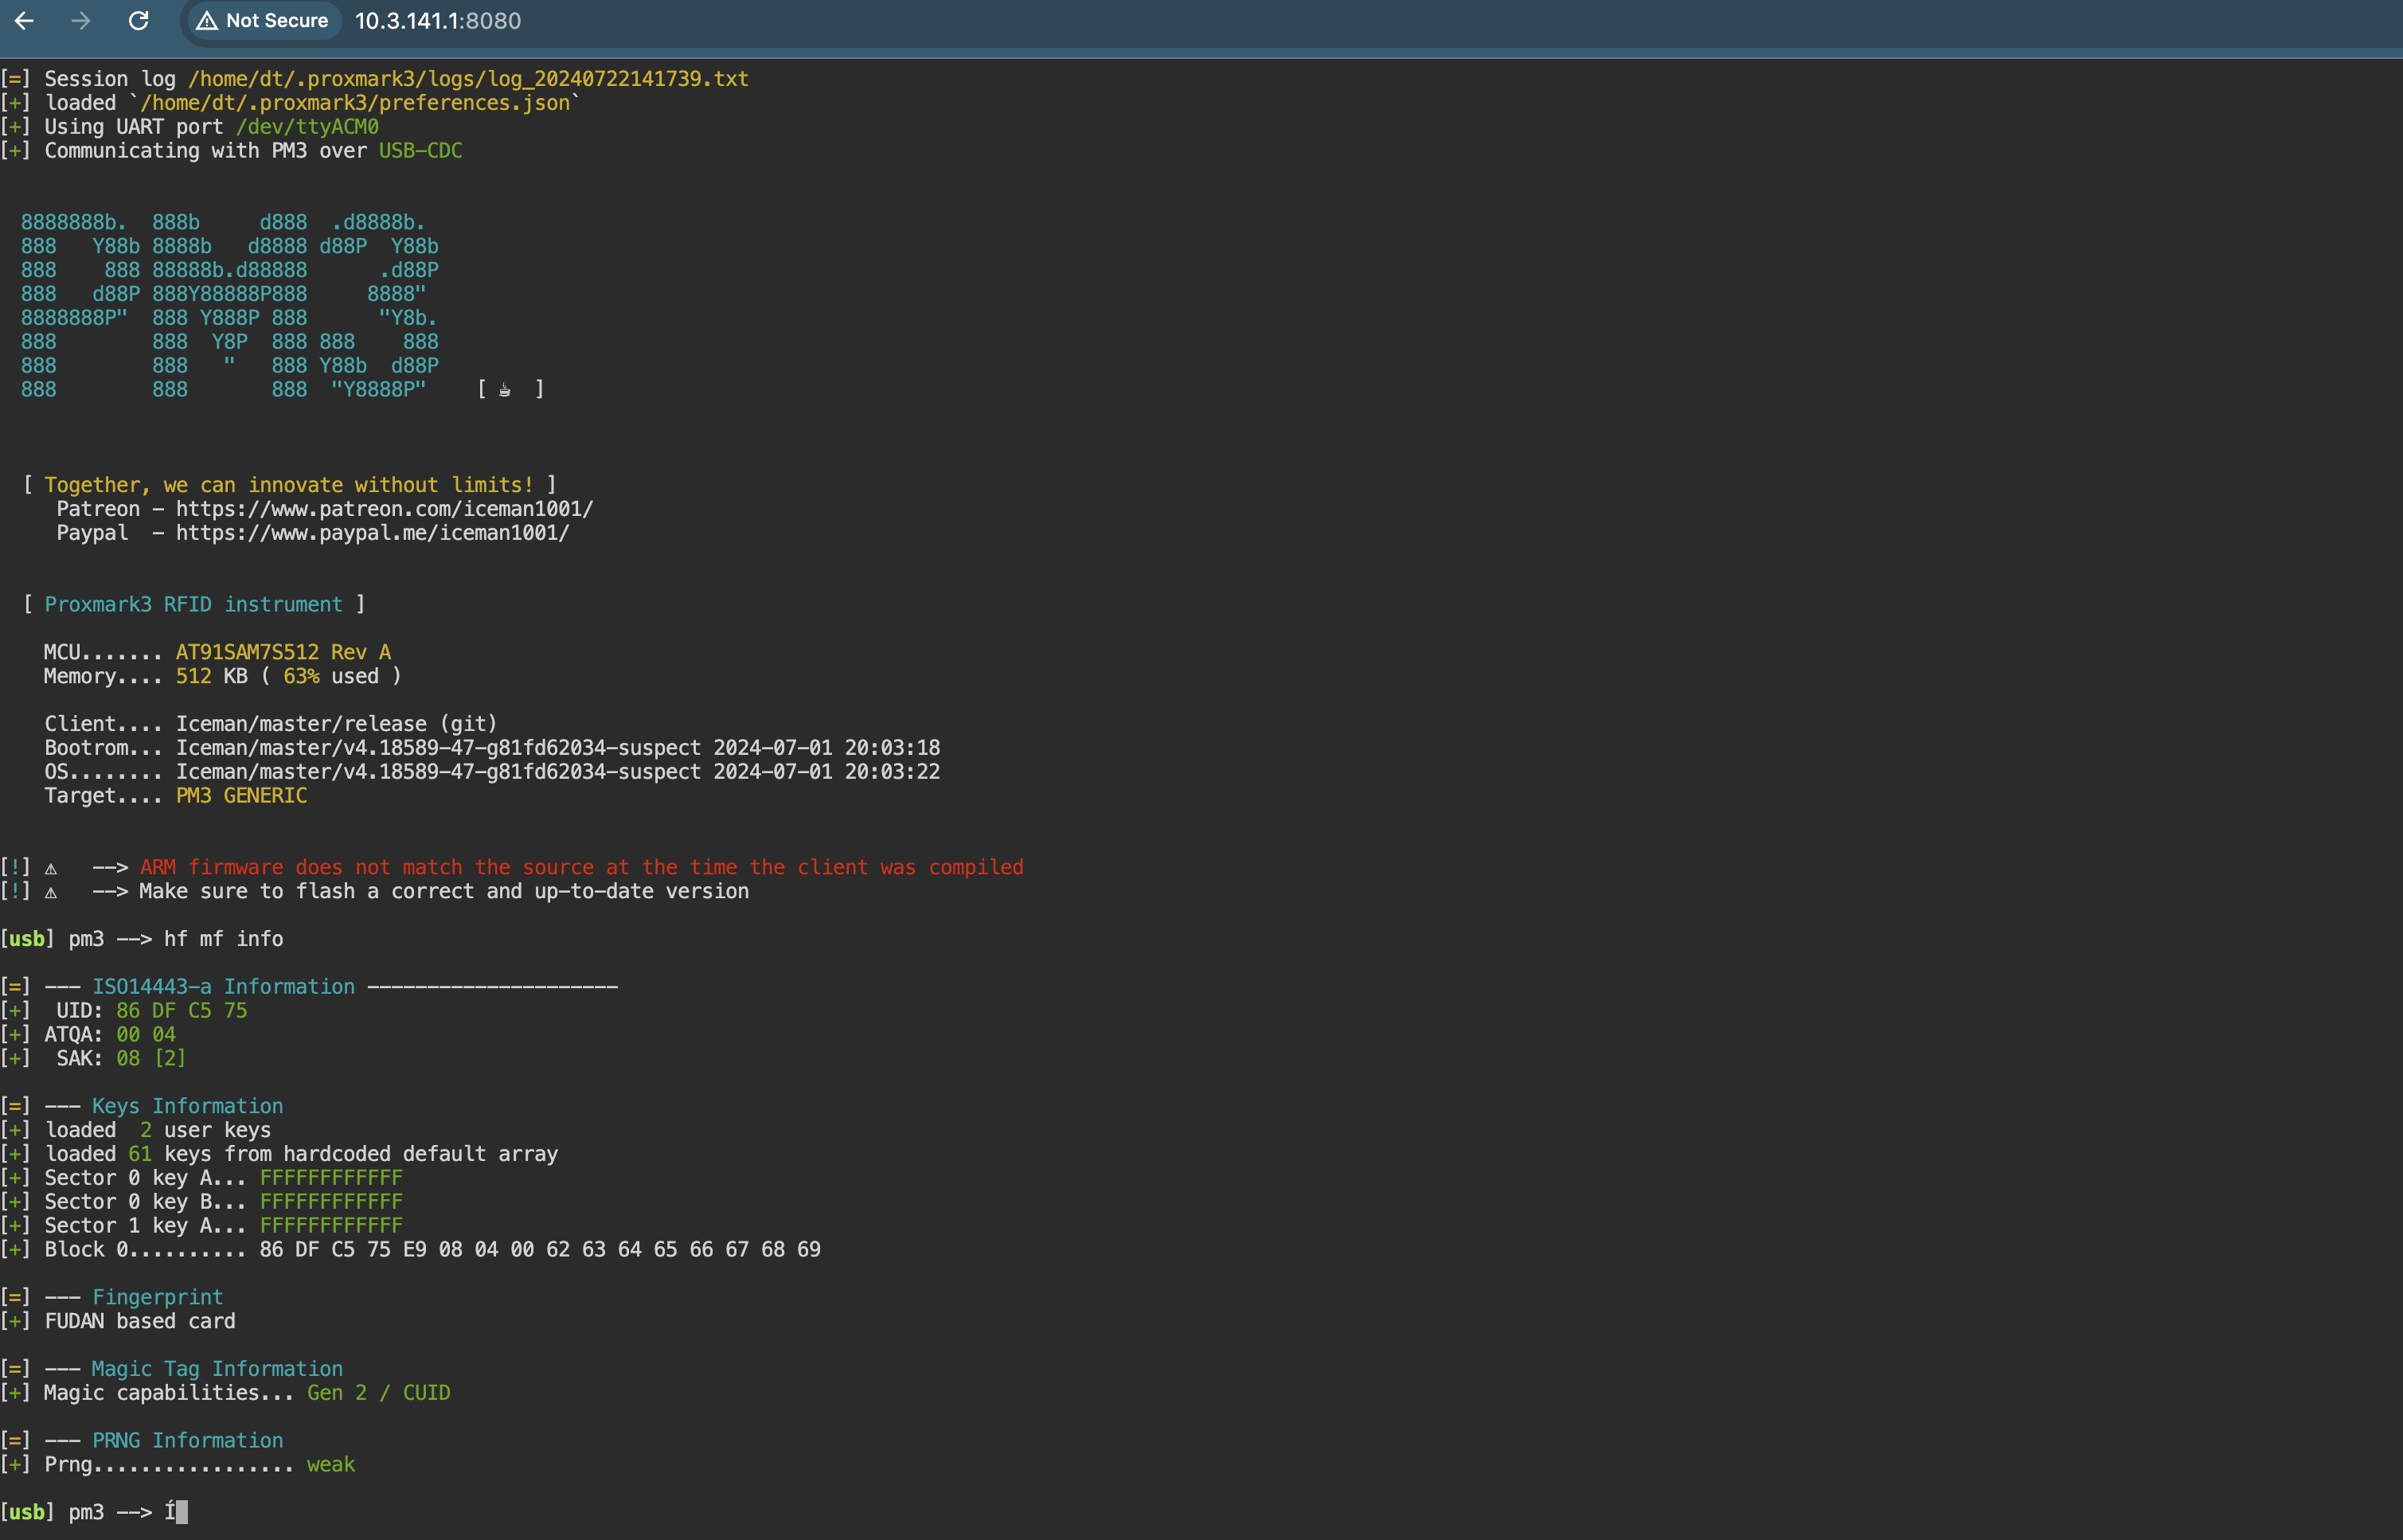
- PM3 shell (u: dt ; p: proxmark3) at http://192.168.4.1:8080/

build
To build new image you should follow the steps below: (Tested only on Apple Silicon macbook)
- checkout pi-gen
git clone https://github.com/RPi-Distro/pi-gen.git pmbuild - copy the content of pi-pm3 folder to pmbuild
cp -rp pi-gen/* pmbuild/ - Checkout the arm64 branch of pi-gen
cd pmbuild; git checkout arm64 - make sure you have a docker server running (or any of it's alternatives https://spacelift.io/blog/docker-alternatives)
- start the build in a docker container
./docker-build.sh
On a successful build you should get something like the screenshot blow:

CHANGELOG
- v1.1.0
- Updated dependencies for debain Trixie.